
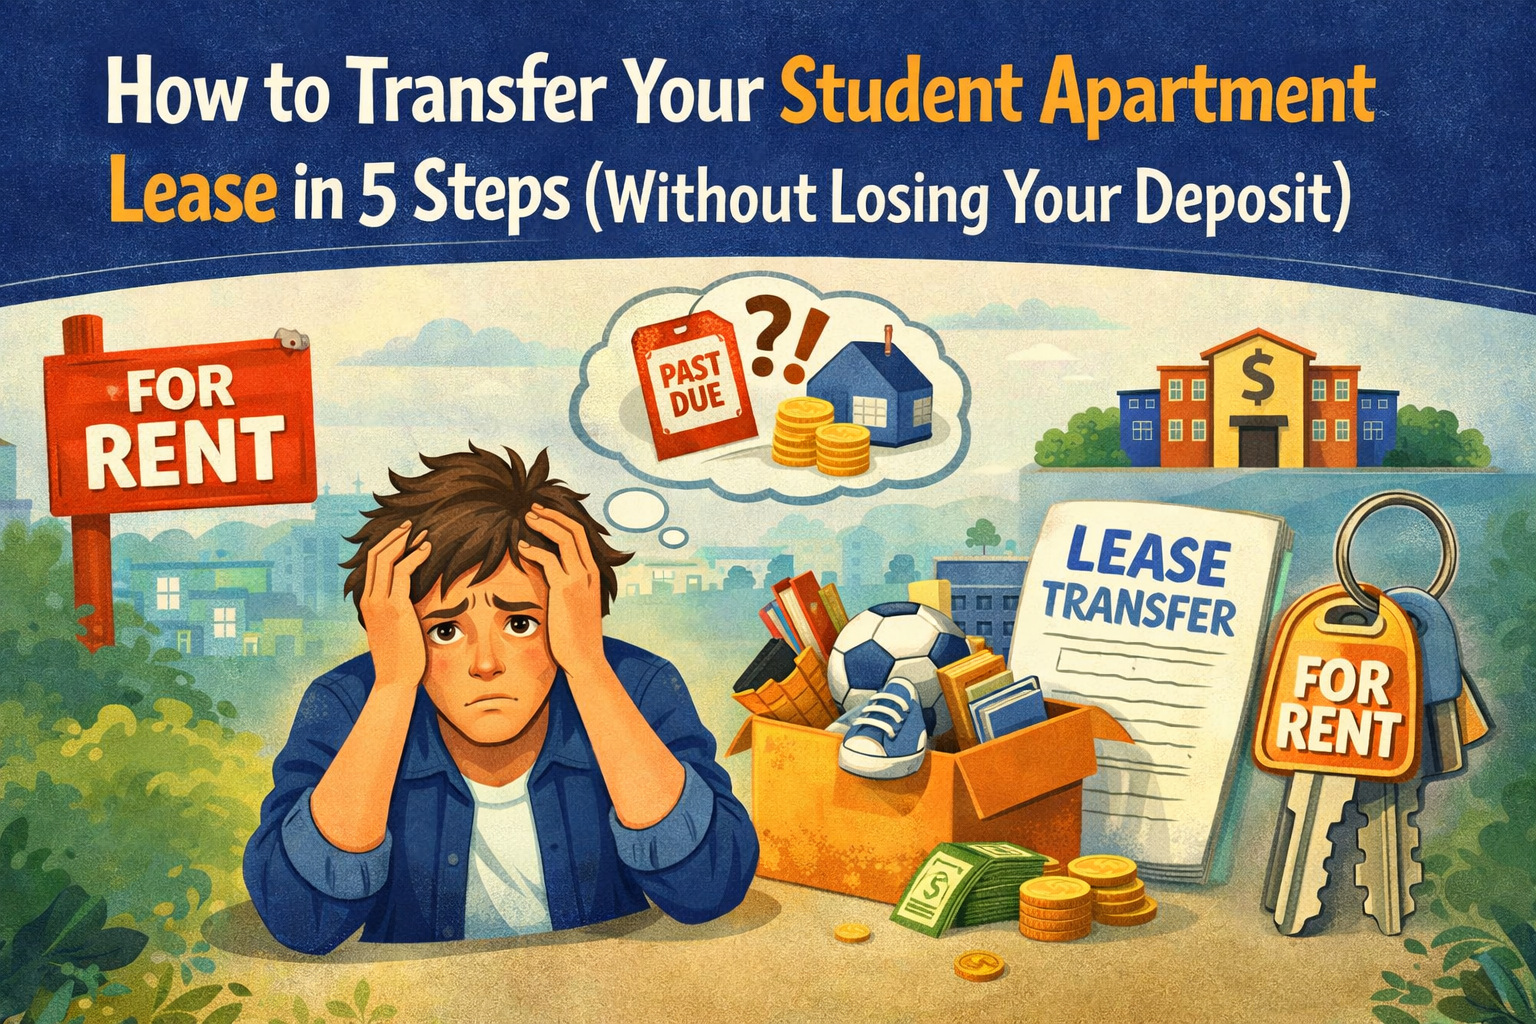
How to Transfer Your Student Apartment Lease in 5 Steps (Without Losing Your Deposit)
Transferring a student apartment lease costs nothing if you follow the right steps and typically takes 7 to 14 business days once you have an approved replacement tenant. Most students who lose money on a lease exit do so because they skip documentation, rush the final walkthrough, or misunderstand what their lease actually permits.
This guide covers the full process from reading your lease clause to handing over the keys.
TL;DR: Quick Answer
- A lease transfer (assignment) permanently removes you from the contract; subletting keeps your name on it and leaves you liable if anything goes wrong.
- Your lease’s assignment clause determines how much landlord cooperation you are legally required to get.
- Finding a replacement tenant who meets your landlord’s income and credit requirements is the step most students underestimate.
- All deposit arrangements must be documented in writing before you move out or disputes will follow.
- Starting 60 days before your needed exit date gives you enough time to complete all five steps without financial pressure.
What a Lease Transfer Actually Means
A lease transfer, also called a lease assignment, permanently moves your lease obligations to a new tenant. That person steps into your role: they pay rent directly to the landlord, they follow your original lease terms, and you exit the contract entirely. It differs from subletting, where your name stays on the lease and you remain legally responsible if the subtenant fails to pay or causes damage.
Once a properly executed lease assignment is signed by all three parties, you are no longer liable for rent, damages, or future violations. That clean break is why students who need a permanent exit should pursue a transfer rather than a sublet.
Step 1: Read Your Lease’s Assignment Clause Before Anything Else
Your lease contains an assignment clause, a subletting clause, or both. Find the section titled something like “Assignment and Subletting,” “Lease Transfer,” or “Tenant Substitution.” Read it before contacting your landlord or posting any listings.
Three versions of this clause exist, and each changes your strategy.
Consent required, may be withheld for any reason. Your landlord has full discretion. You will need to make a persuasive case. Offering to pay an assignment fee (typically $100 to $500) can help.
Consent required, but cannot be unreasonably withheld. This is the most common version. Your landlord must approve any qualified applicant who meets the same income and credit standards you met when you signed. They cannot arbitrarily refuse.
No consent required. Rare, but it means you can transfer without approval. Document everything anyway. You still need a paper trail.
If your lease addresses subletting but is silent on assignments, you may be able to negotiate a direct transfer. Many landlords prefer a full assignment because it removes the triangular rent-collection dynamic that subletting creates.
One detail worth checking: some leases require the incoming tenant to sign a new lease rather than take over yours. Some landlords use a transfer as an opportunity to raise the rent. Know that before the conversation starts.
Step 2: Find a Qualified Replacement Tenant
This is where most students get stuck. A replacement tenant needs to pass your landlord’s standard screening: income typically at 2.5 to 3 times monthly rent, acceptable credit, and no significant negative rental history. Posting in a group chat without pre-screening candidates wastes time for everyone.
Effective places to find verified student replacements in 2026:
FindMyPlace.co Contract Marketplace. Purpose-built for student lease transfers near universities. Listings are student-verified and the platform is designed specifically for this type of transaction.
Your university’s off-campus housing office. Most schools maintain a housing board or database. These are free, student-focused, and frequently overlooked.
School-specific Facebook groups and subreddits. Move fast here. Post the full details: address, rent amount, lease end date, and any included amenities. Respond the same day to every serious inquiry.
Your existing social network. Transfer students, incoming freshmen, and students returning from study abroad are often searching urgently. A direct message or social post reaches people already motivated to act.
Pre-screen candidates before presenting them to your landlord. Verify income, ask about rental history, and confirm they can meet any cosigner requirements in your lease. A strong applicant package shortens the approval timeline significantly.
Step 3: Notify Your Landlord in Writing
Once you have a qualified candidate, submit a formal written request. Do not handle this verbally. An email or certified letter creates a documented timeline, which matters if the landlord delays or attempts to deny a valid request.
Your written notice should include:
- Your name, unit address, and current lease end date
- Your reason for the transfer (not legally required, but it helps)
- The proposed replacement tenant’s full name and contact information
- Your requested transfer date
- A request for written approval within a reasonable timeframe (14 to 30 days is standard)
In most states, landlords must respond within 14 to 30 days. If your lease states consent cannot be unreasonably withheld, the landlord’s grounds for refusal are limited: poor credit, insufficient income, negative rental history, or failure to meet other standard screening criteria. Discrimination based on protected characteristics is never a valid reason to deny.
Colorado tenants should note that HB 25-1249, which took effect January 1, 2026, strengthened security deposit return requirements. Landlords must return deposits within 30 days and cannot deduct for normal wear and tear or pre-existing conditions.
Step 4: Complete the Assignment Documentation
Landlord approval triggers the paperwork phase. A lease assignment must be documented in writing to legally release you from your obligations.
The standard documentation package includes:
Lease Assignment Agreement. The core document transferring all rights and responsibilities from you (the assignor) to the new tenant (the assignee). This should name all three parties: you, the incoming tenant, and the landlord.
Landlord Consent Form. Written approval of the specific incoming tenant. Without this signature, the transfer is not legally binding.
Security deposit resolution agreement. This is where most disputes happen. Three arrangements are common. Your original deposit can transfer as credit to the incoming tenant. Your deposit can be returned after the walkthrough while the incoming tenant pays a new one. You and the incoming tenant can negotiate directly, with them paying you the deposit amount while you transfer responsibility. All three work. The one you choose depends on timing, landlord preference, and the incoming tenant’s available funds. Whichever arrangement you use, document it in writing with signatures from all parties before anyone moves.
Move-out walkthrough documentation. Schedule a joint walkthrough before you leave. Document the unit’s condition with timestamped photos and video. This is your primary protection against post-transfer deposit disputes.
Some landlords charge an assignment fee between $100 and $500 to cover administrative costs. This is separate from your deposit and is generally paid by the outgoing tenant. Negotiate this upfront. Some landlords will waive it if you bring them a strong replacement quickly.
Step 5: Finalize the Handover and Protect Your Deposit
This is the step most students rush, and rushing it is where deposit losses happen.
Request a pre-move-out inspection at least 14 days before your departure. Many states legally require landlords to grant this if asked. It gives you time to fix anything that could result in a deduction before you leave.
Document everything with video. Walk through every room on camera. Open cabinets, test appliances, run faucets. A continuous 5-minute walkthrough video is more defensible in a dispute than a series of photos.
Cancel utilities in your name. Do not assume the incoming tenant will handle this. Cancel or transfer every service billed to your name, including electricity, internet, and renter’s insurance, effective on your move-out date.
Confirm the landlord’s release in writing. After everything is signed and you have moved out, request written confirmation that your obligations under the lease have been fulfilled. Keep this on file.
What Happens to Your Security Deposit in a Transfer?
The answer depends entirely on what you negotiate in Step 4. Three arrangements are common.
| Arrangement | What It Means | Best When |
| Deposit stays, transfers to new tenant | Landlord holds your original deposit and applies it to the incoming tenant’s tenancy. You do not get it back until the lease fully ends. | Landlord prefers continuity and the incoming tenant agrees to be responsible for it. |
| Your deposit returned, new one collected | Landlord returns your deposit after the walkthrough and collects a fresh deposit from the incoming tenant. Cleanest option for the outgoing tenant. | Landlord is cooperative and incoming tenant has funds for a new deposit. |
| Tenant-to-tenant deposit deal | You and the incoming tenant negotiate directly. They pay you the deposit amount and you transfer responsibility to them. | Quick timelines when the landlord prefers not to be involved in the money transfer. |
Start Early, Document Everything
A lease transfer handled 60 days out is a manageable administrative process. The same situation handled 10 days out is a financial crisis. Follow the five steps in order, start as soon as you know you need to leave, and keep a written record of every conversation.
FindMyPlace.co’s contract marketplace is built specifically for this situation. Post your lease, find a verified student replacement, and manage the transfer through a platform designed for student housing near universities.
